
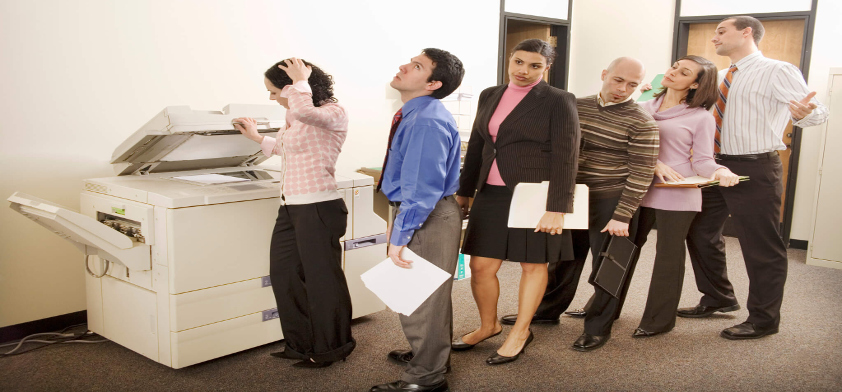
If you want to save your company time and money (who doesn’t), listen up! Rather than printing lots of documents and fumbling around for postage, use your business copy machine to scan documents to email. This modern-day solution to an age-old frustration is easy to learn and perform.
Learn the Correct Way to Scan Documents to Email
Step 1: Choose a File Type
Before you begin to scan documents to email, you will need to select a file type. The two common options: PDF and JPEG.
PDF works best when scanning documents that have text or vector graphics with points, lines, shapes and curves. This format is also good for putting multi-page documents into one single file.
JPEG works well for photographs, because they can compress the image data and reduce the size of a large file.
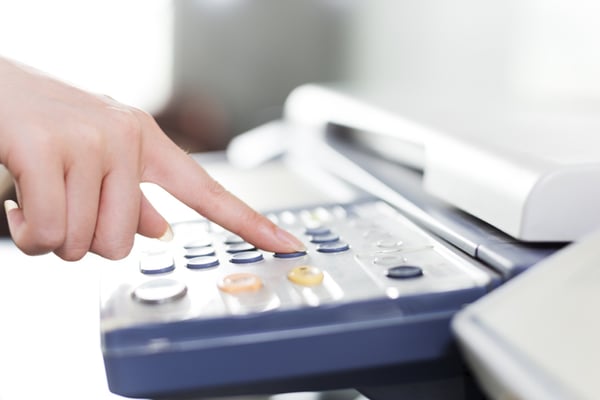
Step 2: Scan the Document
The next step is actually scanning the document on your office copy machine.
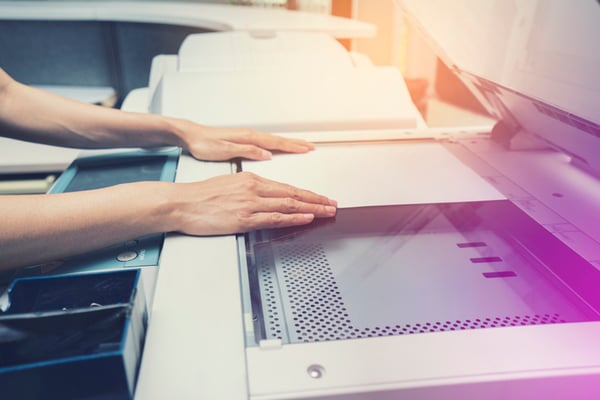
When you are ready to scan documents to email, place your printed papers face down on the scanner glass. Make sure the documents align with the guideline markers along the perimeter of the glass. Then, lower the cover to the copy machine.
- Select “scan” on the printer menu
- Choose the computer you want to send the document to
- Select the file type
- Start the scan
Step 3: Save and Rename the Scanned File
After the scan is done, a web browser or My Documents will automatically open. Your completed scan will be the last one listed in the prompt. You can then open and review your document.
Double-check that everything is correct, and then click the “Save” button.
You can rename the file to something you are likely to remember and move it to a location that is easy to find later, if you would like.
Step 4: Attach the Document to an Email
Once your paper document has been converted into a PDF or JPG, the next step in the scan documents to email process is to attach the file.
There are two easy ways to do this:
- The first option is to right-click the file name from its current location. When the pop-up menu appears, select “send to” and then “mail recipient.” Finally, a new message window will open with the document already attached. Then, you can send your scanned document whenever you are ready.
- Or, you can open your email program and compose a new message. When you are ready, select the “attach file” button along the top of the message window. Then, click “insert.” Then, you can send your email with the attached document that was scanned on your business copy machine.
Since time is money, learning how to scan documents to email is a smart strategy to improve the profitability of your business. Use these four simple steps on your Shore Office System’s machine today to increase your team’s efficiency.
Shore OS has been providing office solutions, like copiers, printers and faxes, since 1974. We sell and lease state-of-art business machines to companies from Manhattan to Montauk. If you are considering buying or leasing new office equipment, talk with one of our skilled staff members today.

